
How to get Spotify Data?
The goal of this step is to get all of the Spotify data we want from a generated JSON file.
Creating a Spotify Developer App
- Head to the Spotify Developer Dashboard and log in with your Spotify account (you may need to verify your email).
- Create a new app using the dashboard, give it a name, description, and a Redirect URI (I recommend setting any localhost e.g. http://127.0.0.1:8080).
- Save the client ID, client secret and redirect URI for later.
Creating the Project & setting up a Server
We will need a server, in this case Netlify (free), with a new project in it to generate and serve the JSON file automatically:
Create a Netlify account by signing up on their website.
Create a new project (folder) on your PC which will be generating the JSON
Open it in a code editor (e.g. Visual Studio Code) and run the following commands in Powershell in the created folder (make sure Node.js is installed before):
npm install -g netlify-cli # Install Netlify CLI globally
npm init -y # Initialize Node project
netlify init # Initialize Netlify project (log in with your Netlify account in the opened browser and create & configure a new site)
mkdir functions # Add functions folder (here will be the code which will generate the JSON)
Create a new JavaScript file in
functionswhich I calledget-spotify-data.js.To tell Netlify where the functions live you need to specify it in
netlify.toml(you may need to create this file if it doesn’t already exist):[build] functions = "functions"Before you can code the
functions/get-spotify-data.jsyou must know the client ID and client secret, which we already got. Additionally whe need to generate a refresh token. That requires a few steps though:Spotify needs you to visit a URL to grant access to its API. The URL I used looks like this (remember to add your client ID and redirect URI):
https://accounts.spotify.com/authorize
?client_id=YOUR_CLIENT_ID
&response_type=code
&redirect_uri=YOUR_REDIRECT_URI
&scope=user-top-read%20user-library-read%20playlist-read-private%20user-read-recently-played%20user-follow-read
You can change the scopes by adding different keywords to
scopeseparated by spaces (%20). Scopes provide Spotify users using third-party apps the confidence that only the information they choose to share will be shared, and nothing more. You can find a list of all scopes on the Spotify Developer Documentation.After visiting the url and granting access it will change to something like
http://127.0.0.1:8888/?code=YOUR_CODE. Save this code for later as well.The final step here is to get your refresh token is to create a Node script which will generate it for you:
Create a new folder anywhere.
Run
npm init -yandnpm install node-fetch@2. This will create apackage.jsonand installnode-fetch.Create a new JavaScript file in the folder (e.g.
get-refresh-token.js) and add the following code (remember to add your client ID, client secret, redirect uri and code)const fetch = require("node-fetch"); const client_id = "YOUR_CLIENT_ID"; const client_secret = "YOUR_CLIENT_SECRET"; const redirect_uri = "YOUR_REDIRECT_URI"; const code = "YOUR_CODE"; (async () => { const res = await fetch("https://accounts.spotify.com/api/token", { method: "POST", headers: { "Authorization": "Basic " + Buffer.from(client_id + ":" + client_secret).toString("base64"), "Content-Type": "application/x-www-form-urlencoded" }, body: new URLSearchParams({ grant_type: "authorization_code", code: code, redirect_uri: redirect_uri }) }); const data = await res.json(); console.log(data); })();After running the code using
node get-refresh-token.jsit will output a small peace of JSON which includes the wanted refresh token. Save it also for later fromrefresh_tokenfrom the JSON.
Finally we can add the 3 secrets to our Netlify project. Go to your project → Project configuration → Environment variables → Add a variable (add a single variable) for each secret. Give each one a proper name using the SCREAMING_SNAKE_CASE and check Contains secret values.
Now you can code (copy) the
functions/get-spotify-data.js. This is mine which you can build upon:const fetch = require("node-fetch"); exports.handler = async function(event, context) { const client_id = process.env.SPOTIFY_CLIENT_ID; const client_secret = process.env.SPOTIFY_CLIENT_SECRET; const refresh_token = process.env.SPOTIFY_REFRESH_TOKEN; const tokenRes = await fetch("https://accounts.spotify.com/api/token", { method: "POST", headers: { "Authorization": "Basic " + Buffer.from(client_id + ":" + client_secret).toString("base64"), "Content-Type": "application/x-www-form-urlencoded" }, body: new URLSearchParams({ grant_type: "refresh_token", refresh_token: refresh_token }) }); const tokenData = await tokenRes.json(); const access_token = tokenData.access_token; const headers = { "Authorization": `Bearer ${access_token}` }; // Fetch top tracks const [topTracksShortTerm, topTracksMediumTerm, topTracksLongTerm] = await Promise.all([ fetch("https://api.spotify.com/v1/me/top/tracks?limit=30&time_range=short_term", { headers }).then(r => r.json()), fetch("https://api.spotify.com/v1/me/top/tracks?limit=30&time_range=medium_term", { headers }).then(r => r.json()), fetch("https://api.spotify.com/v1/me/top/tracks?limit=30&time_range=long_term", { headers }).then(r => r.json()) ]); // Fetch top artists const [topArtistShortTerm, topArtistMediumTerm, topArtistLongTerm] = await Promise.all([ fetch("https://api.spotify.com/v1/me/top/artists?limit=10&time_range=short_term", { headers }).then(r => r.json()), fetch("https://api.spotify.com/v1/me/top/artists?limit=10&time_range=medium_term", { headers }).then(r => r.json()), fetch("https://api.spotify.com/v1/me/top/artists?limit=10&time_range=long_term", { headers }).then(r => r.json()) ]); // Fetch saved tracks, playlists, recently played, and followed artists const [savedTracks, playlists, recentlyPlayed, followedArtists] = await Promise.all([ fetch("https://api.spotify.com/v1/me/tracks?limit=30", { headers }).then(r => r.json()), fetch("https://api.spotify.com/v1/me/playlists?limit=50", { headers }).then(r => r.json()), fetch("https://api.spotify.com/v1/me/player/recently-played?limit=30", { headers }).then(r => r.json()), fetch("https://api.spotify.com/v1/me/following?type=artist&limit=10", { headers }).then(r => r.json()) ]); return { statusCode: 200, headers: { "Access-Control-Allow-Origin": "*", "Access-Control-Allow-Headers": "Content-Type" }, body: JSON.stringify({ topTracksShortTerm, topTracksMediumTerm, topTracksLongTerm, topArtistShortTerm, topArtistMediumTerm, topArtistLongTerm, savedTracks, playlists, recentlyPlayed, followedArtists }) }; };Mine for example will generate up to:
- 30 top songs (short, medium, long term)
- 10 top artists (short, medium, long term)
- 30 last saved tracks
- 50 saved playlist
- 30 recently played songs
- 10 followed artists
Now finally you can run
netlify deploy --prodto push everything to Netlify (if you change anything run it again). Now the JSON will be served on something likehttps://your-project.netlify.app/.netlify/functions/get-spotify-datawhich you can use later for displaying the content.
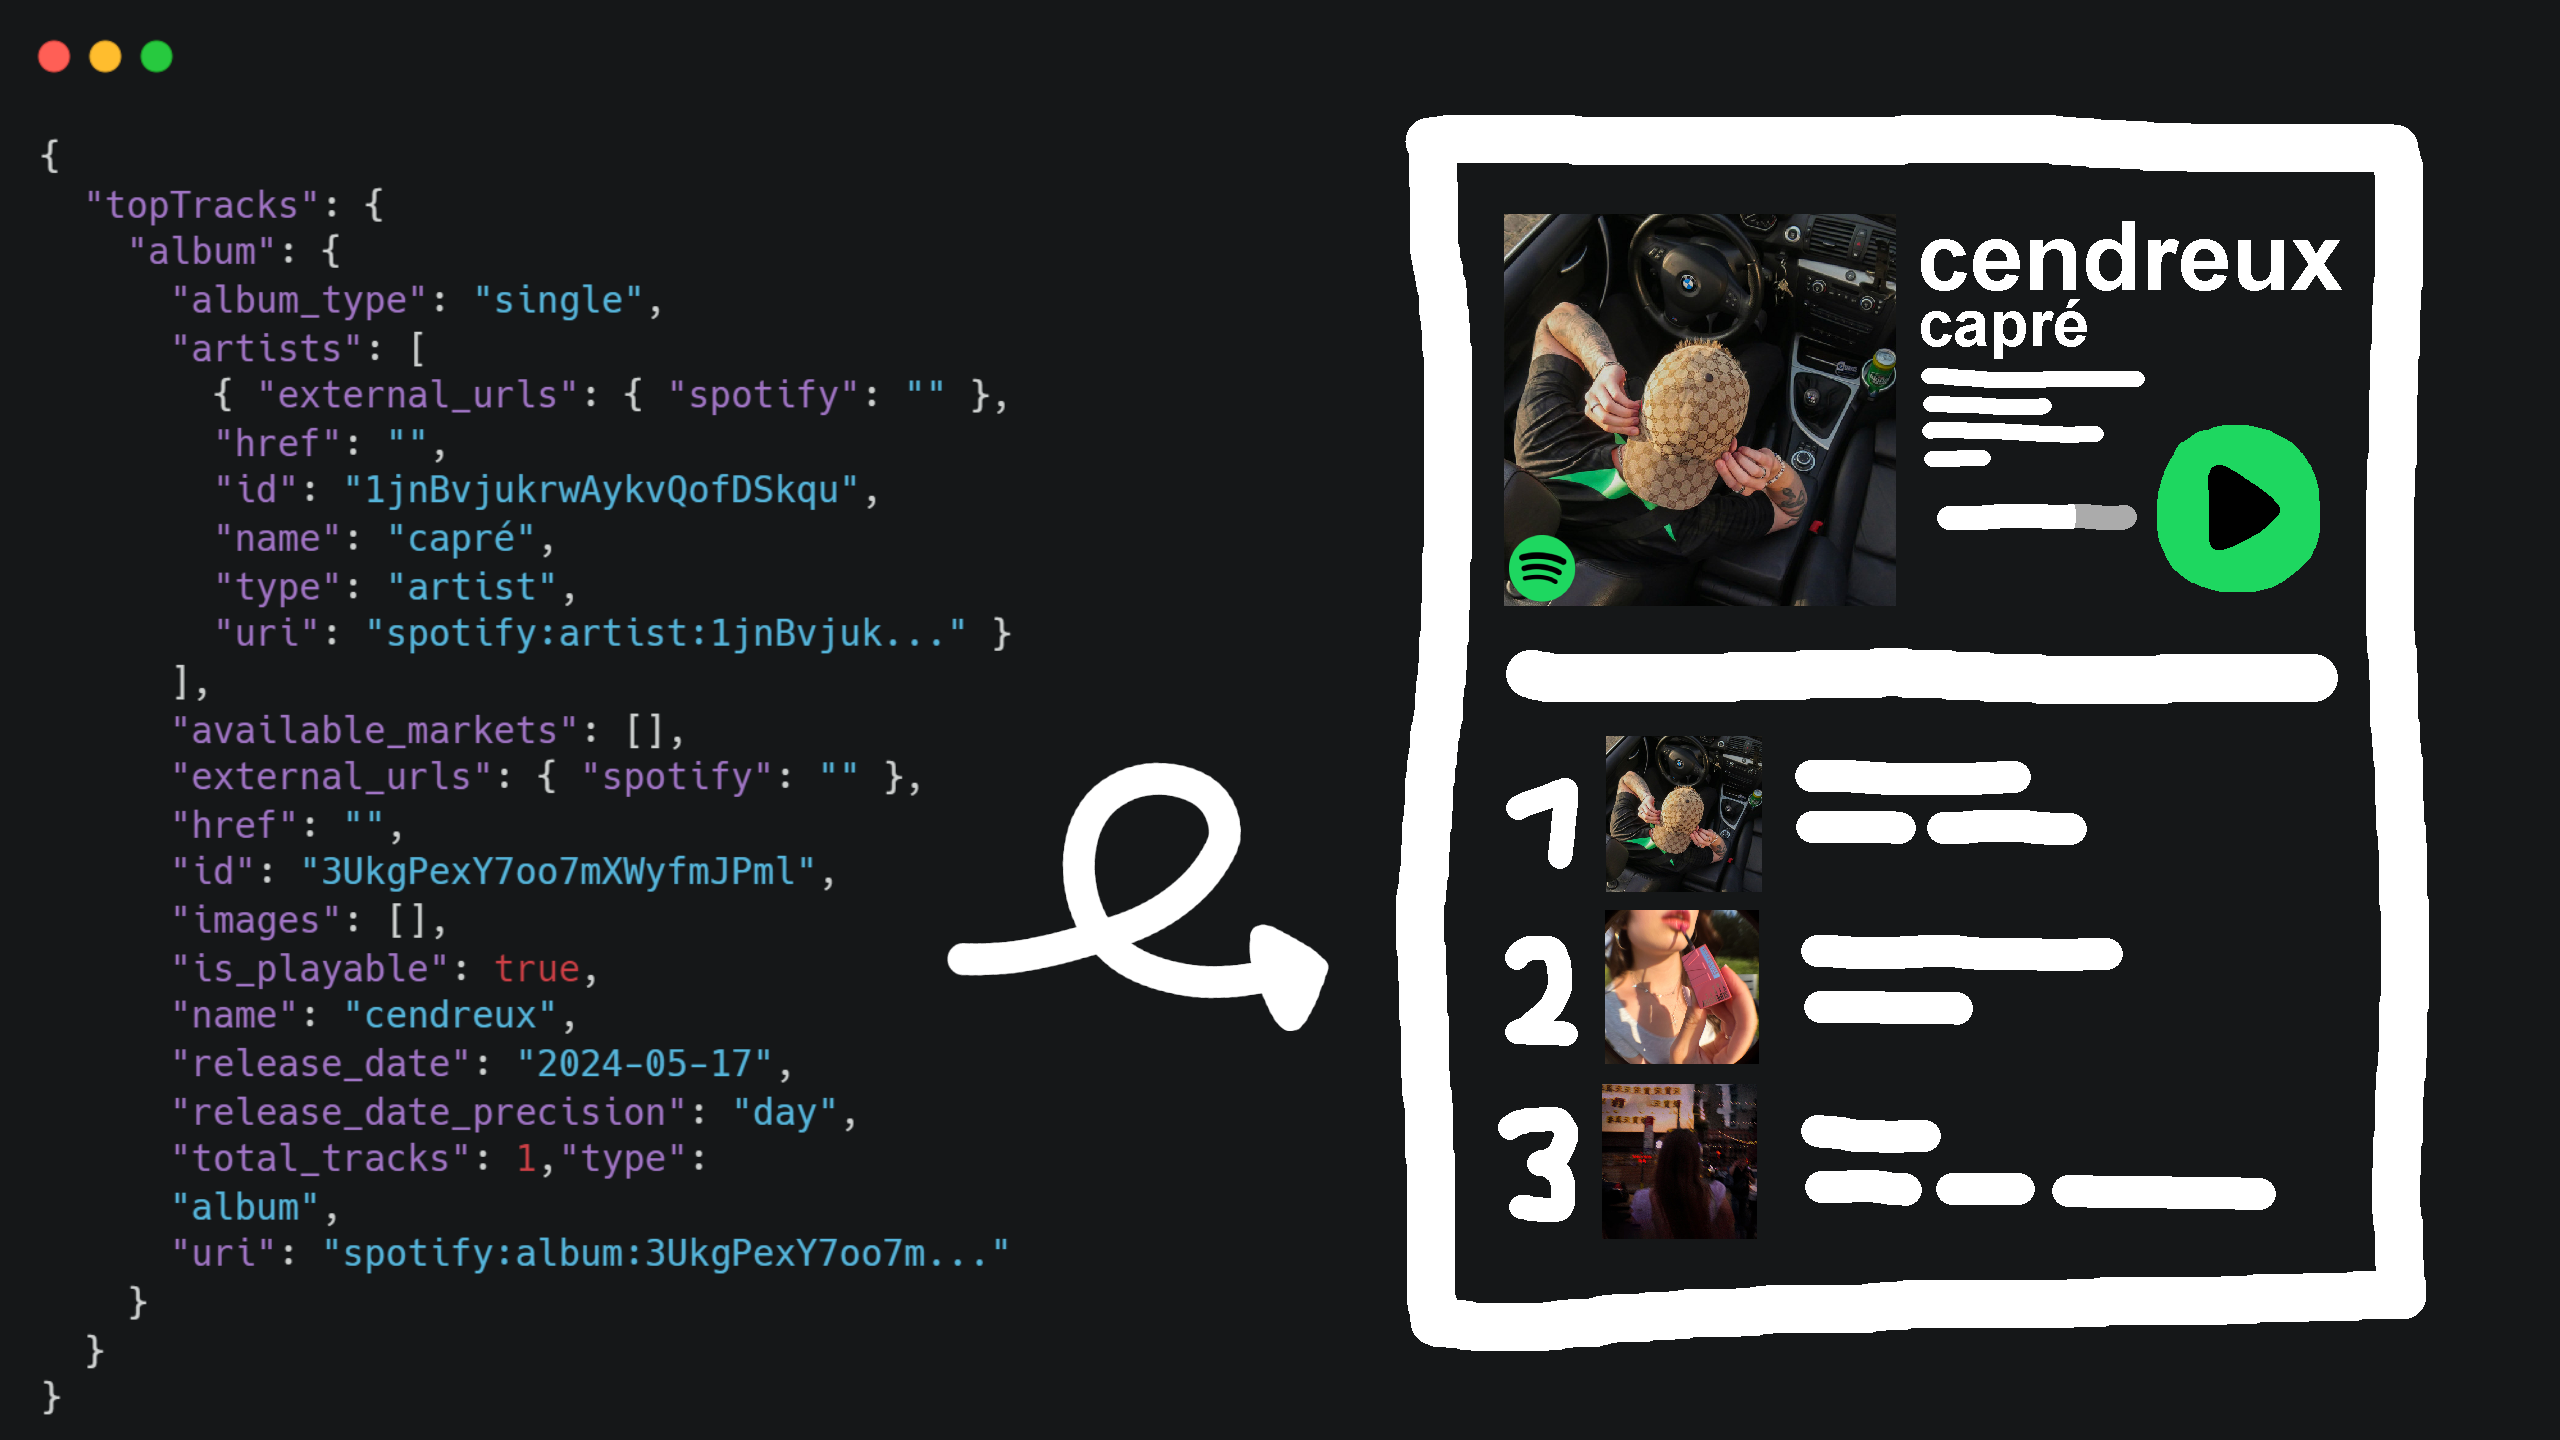
How to use and display it?
Now I will show you what I did with the spotify data: Displaying specific data as interactive UI on my portfolio website. I will show it using only plain frontend HTML and JavaScript. Ask ChatGPT lol (Maybe I will finish this post sometime).